2014年12月31日水曜日

Introduction of "iAutoPortrait" [ Page 60 ]

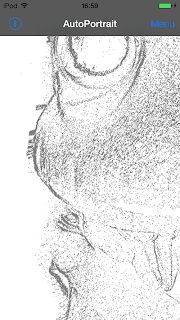
The canvas view will be scrolled to the top left corner of the screen if users flick the screen towards the top left corner of the screen.
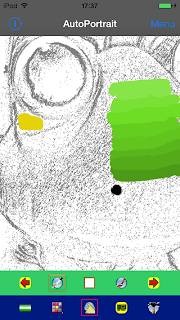
After that, users paint the face of a stuffed frog in yellow with the brush.
In addition, if the syringe icon that will appear after the leftmost arrow icon in the toolbar having the arrow icon on both the left and the right was tapped twice is tapped, the screen will change to the following image.


After this, users can absorb the color of the paint on the screen by using the syringe.
A color in the color palette will change to green by tapping on the green area in the face of a stuffed frog in order to do so.

Back Next

© 2014 Mas Software Studio All rights reserved.
Introduction of "iAutoPortrait" [ Page 30 ]

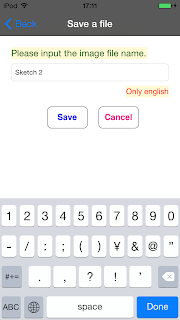
The screen will change to the following image.


A string of the file name will be displayed in the topmost text field if a character on the screen keyboard is tapped.

Back Next

© 2014 Mas Software Studio All rights reserved.
Introduction of "iAutoPortrait" [ Page 27 ]

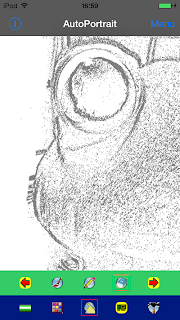
Please tap the pencil icon in the toolbar having the arrow icon on both the left and the right after scrolling the canvas view to the left by flicking the screen to the left just a little.
Next because users cannot see the contour of the nose of a stuffed frog well, the screen will change to the following image if draw a picture with a pencil after adjusting the thickness of that by using the bottommost slider.


You'll be able to confirm that the contour of the nose in a picture is finished if you look at this.

Back Next

© 2014 Mas Software Studio All rights reserved.

Introduction of "iAutoPortrait" [ Page 23 ]

If lightly keep touching the left edge green icon in the bottommost toolbar for a short while, the view which has the two switchs possible to show or hide the navigation bar at the top of the screen and the two toolbars will appear.
The screen will change to the following image if the button of "Back" is tapped after tapping the switch for hiding the navigation bar and the switch for hiding the toolbars.


The area that has not been erased with an eraser yet will appear if users look at the bottommost area in this image.
If the navigation bar has been displayed, users will be able to confirm that the hidden area by this exists.
Let's erase the unwanted portions of this area in the area with an eraser.
The screen will change to the following image if users erase this portions in the area with an eraser.


Back Next

© 2014 Mas Software Studio All rights reserved.

Introduction of "iAutoPortrait" [ Page 22 ]

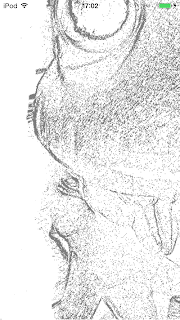
The screen will change to the following image after the screen is tapped with three fingers.
Two toolbars will be shown.


Back Next

© 2014 Mas Software Studio All rights reserved.
Introduction of "iAutoPortrait" [ Page 20 ]

The screen will change to the following image if users rub the bottom left area of the canvas with an eraser.


Back Next

© 2014 Mas Software Studio All rights reserved.
2014年12月30日火曜日

Introduction of "iAutoPortrait" [ Page 10 ]

The screen will change to the following image if the button of "Save" is tapped.


Back Next

© 2015 Mas Software Studio All rights reserved.
Home of iAutoPortrait

Top page Contents Q & A Support

Home of "iAutoPortrait"

Version information of "iAutoPortrait"

  1. Version 1.3 (Now on sale)

  2. "iAutoPortrait ( Ver1.3 )" is now on sale at App Store.

  3. Version 1.2 (The old version)


  4. Version 1.1 (The old version)


  5. Version 1.0 (The first version)


Introduction of "iAutoPortrait"

Introduction of "iAutoPortrait"


© 2016 Mas Software Studio All rights reserved.